Gluten-Free Snowman Oreo Balls
Highlighted under: Sweet Treats
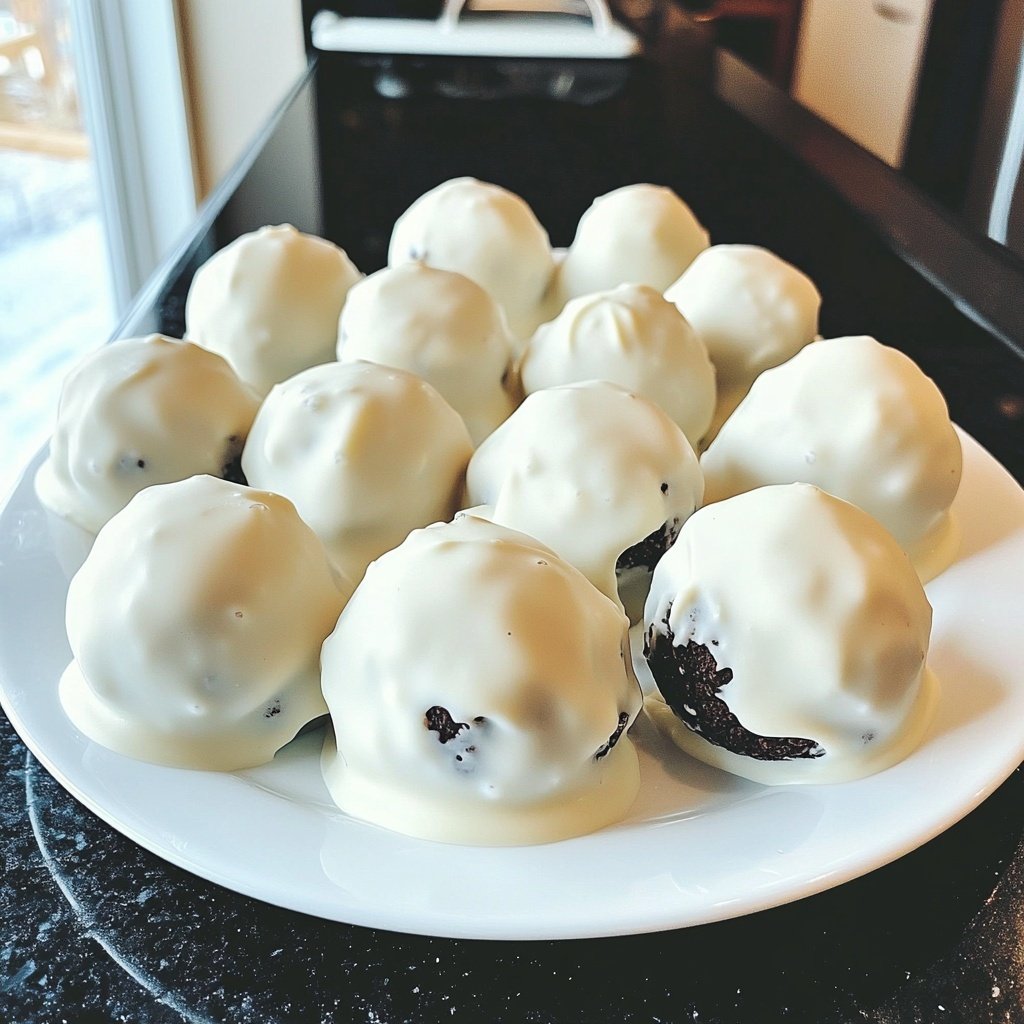
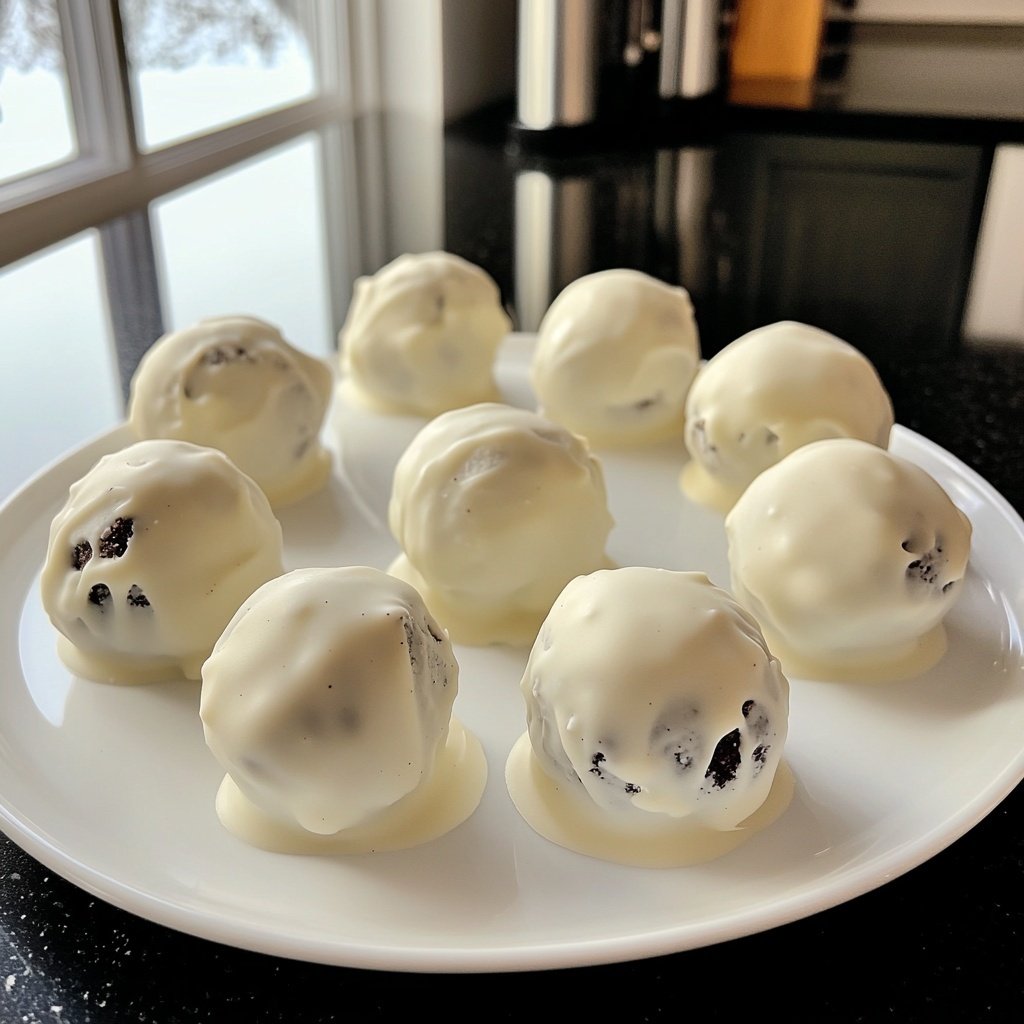
Delightfully festive and completely gluten-free, these Snowman Oreo Balls are the perfect sweet treat for holiday gatherings.
These Gluten-Free Snowman Oreo Balls are a playful twist on the classic Oreo truffle. Perfect for holiday parties, they are sure to bring joy and smiles to both kids and adults alike.
Why You'll Love This Recipe
- Cute and festive design that brings holiday cheer
- Easy to make with minimal ingredients
- Rich, creamy Oreo flavor that's irresistible
- Perfect for sharing or gifting during the holidays
The Joy of Holiday Treats
The holiday season brings a delightful array of traditions, including the creation of festive treats that spark joy and togetherness. These Gluten-Free Snowman Oreo Balls are not just a tasty snack; they are a fun activity for the whole family. Crafting these adorable snowmen can become a cherished memory as you gather around the kitchen, sharing laughter and creativity in equal measure.
These Snowman Oreo Balls are perfect for holiday gatherings, whether you're hosting a party or attending one. Their charming design and delicious flavor make them an instant crowd-pleaser, and their gluten-free nature ensures that everyone can indulge without worry. Plus, they’re easy to transport, making them an excellent option for potlucks or gift-giving.
Tips for Perfect Snowman Oreo Balls
To achieve the best results with your Snowman Oreo Balls, make sure your cream cheese is adequately softened. This allows for easier mixing and helps create a smooth texture that binds the Oreo crumbs perfectly. If you're short on time, you can cut the cream cheese into small cubes and microwave it for a few seconds, but be careful not to melt it completely.
When melting the white chocolate, use a microwave-safe bowl and heat it in 30-second intervals, stirring in between to prevent burning. Alternatively, a double boiler can provide more controlled heating. Once melted, allow the chocolate to cool slightly before dipping the Oreo balls to ensure a smooth coating.
If you want to add a personal touch, feel free to experiment with different decorations! Swap out the mini chocolate chips or orange candy for other festive options like colored sprinkles or edible glitter. Your creativity will shine through in these delightful treats.
Ingredients
For the Snowman Oreo Balls
- 1 package gluten-free Oreo cookies
- 8 oz cream cheese, softened
- White chocolate, for coating
- Mini chocolate chips, for eyes
- Orange candy, for the nose
- Pretzel sticks, for arms
Make sure to use gluten-free Oreo cookies to maintain the gluten-free status of this treat.
Instructions
Crush the Oreos
In a food processor, crush the gluten-free Oreo cookies until fine crumbs form.
Mix with Cream Cheese
In a mixing bowl, combine the crushed Oreos and softened cream cheese. Mix until fully incorporated.
Form the Balls
Using your hands, form the mixture into small balls and place them on a baking sheet lined with parchment paper.
Chill the Balls
Refrigerate the balls for at least 10 minutes to firm up.
Coat with White Chocolate
Melt the white chocolate in a microwave or double boiler. Dip each ball into the melted chocolate, ensuring they are fully coated.
Decorate the Snowmen
Once coated, place the balls back on the parchment paper. Use mini chocolate chips for the eyes, orange candy for the nose, and pretzel sticks for the arms.
Final Chill
Allow the chocolate to set in the fridge for another 10 minutes before serving.
Enjoy your festive Snowman Oreo Balls at holiday parties or as a delightful treat!
Pro Tips
- For a fun variation, try using colored chocolate melts to decorate your snowmen.
Storage Tips
Once your Snowman Oreo Balls are decorated and the chocolate has set, they can be stored in an airtight container in the refrigerator. They will stay fresh for up to a week, but we doubt they’ll last that long! If you plan to make them ahead of time, consider storing the uncoated balls separately and dipping them in chocolate closer to serving time to maintain their freshness.
For longer storage, you can freeze the uncoated Oreo balls. Simply place them on a baking sheet and freeze until solid before transferring them to a freezer-safe container. When you're ready to enjoy, let them thaw in the refrigerator before coating with melted chocolate.
Perfect Pairings
These delightful Snowman Oreo Balls pair well with a variety of holiday beverages. Consider serving them alongside hot cocoa, spiced cider, or even a festive cocktail. The rich, creamy Oreo flavor complements the warmth of these drinks, creating a cozy atmosphere for your holiday celebrations.
For an extra treat, create a dessert platter featuring these snowmen alongside other holiday favorites like peppermint bark, gingerbread cookies, and fruitcake. This variety will not only satisfy different taste preferences but also add a colorful and festive touch to your dessert table.
Questions About Recipes
→ Can I make these ahead of time?
Yes, you can prepare the Oreo balls and refrigerate them for up to 2 days before coating them in chocolate.
→ How long do these Snowman Oreo Balls last?
They can be stored in an airtight container in the fridge for up to a week.
→ Can I use regular Oreos instead?
Yes, but they will no longer be gluten-free if you use regular Oreos.
→ What other decorations can I use?
Feel free to get creative! Use colored icing, sprinkles, or other candies to decorate your snowmen.
Gluten-Free Snowman Oreo Balls
Created by: The Highlevelrecipes Team
Recipe Type: Sweet Treats
Skill Level: Easy
Final Quantity: 20 balls
What You'll Need
For the Snowman Oreo Balls
- 1 package gluten-free Oreo cookies
- 8 oz cream cheese, softened
- White chocolate, for coating
- Mini chocolate chips, for eyes
- Orange candy, for the nose
- Pretzel sticks, for arms
How-To Steps
In a food processor, crush the gluten-free Oreo cookies until fine crumbs form.
In a mixing bowl, combine the crushed Oreos and softened cream cheese. Mix until fully incorporated.
Using your hands, form the mixture into small balls and place them on a baking sheet lined with parchment paper.
Refrigerate the balls for at least 10 minutes to firm up.
Melt the white chocolate in a microwave or double boiler. Dip each ball into the melted chocolate, ensuring they are fully coated.
Once coated, place the balls back on the parchment paper. Use mini chocolate chips for the eyes, orange candy for the nose, and pretzel sticks for the arms.
Allow the chocolate to set in the fridge for another 10 minutes before serving.
Extra Tips
- For a fun variation, try using colored chocolate melts to decorate your snowmen.
Nutritional Breakdown (Per Serving)
- Calories: 150 kcal
- Total Fat: 8g
- Saturated Fat: 5g
- Cholesterol: 20mg
- Sodium: 30mg
- Total Carbohydrates: 20g
- Dietary Fiber: 1g
- Sugars: 15g
- Protein: 2g